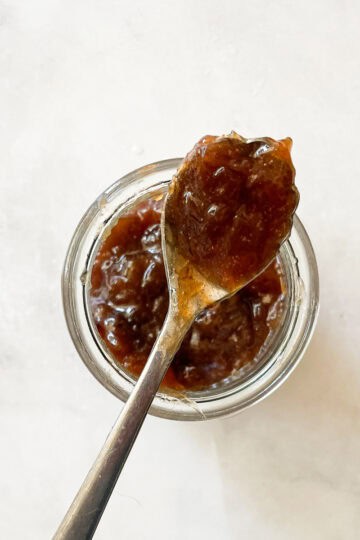
A recipe for a beautifully hued, low sugar strawberry jam that's also made without pectin. You can make this a refrigerator jam or follow canning processes to preserve it.

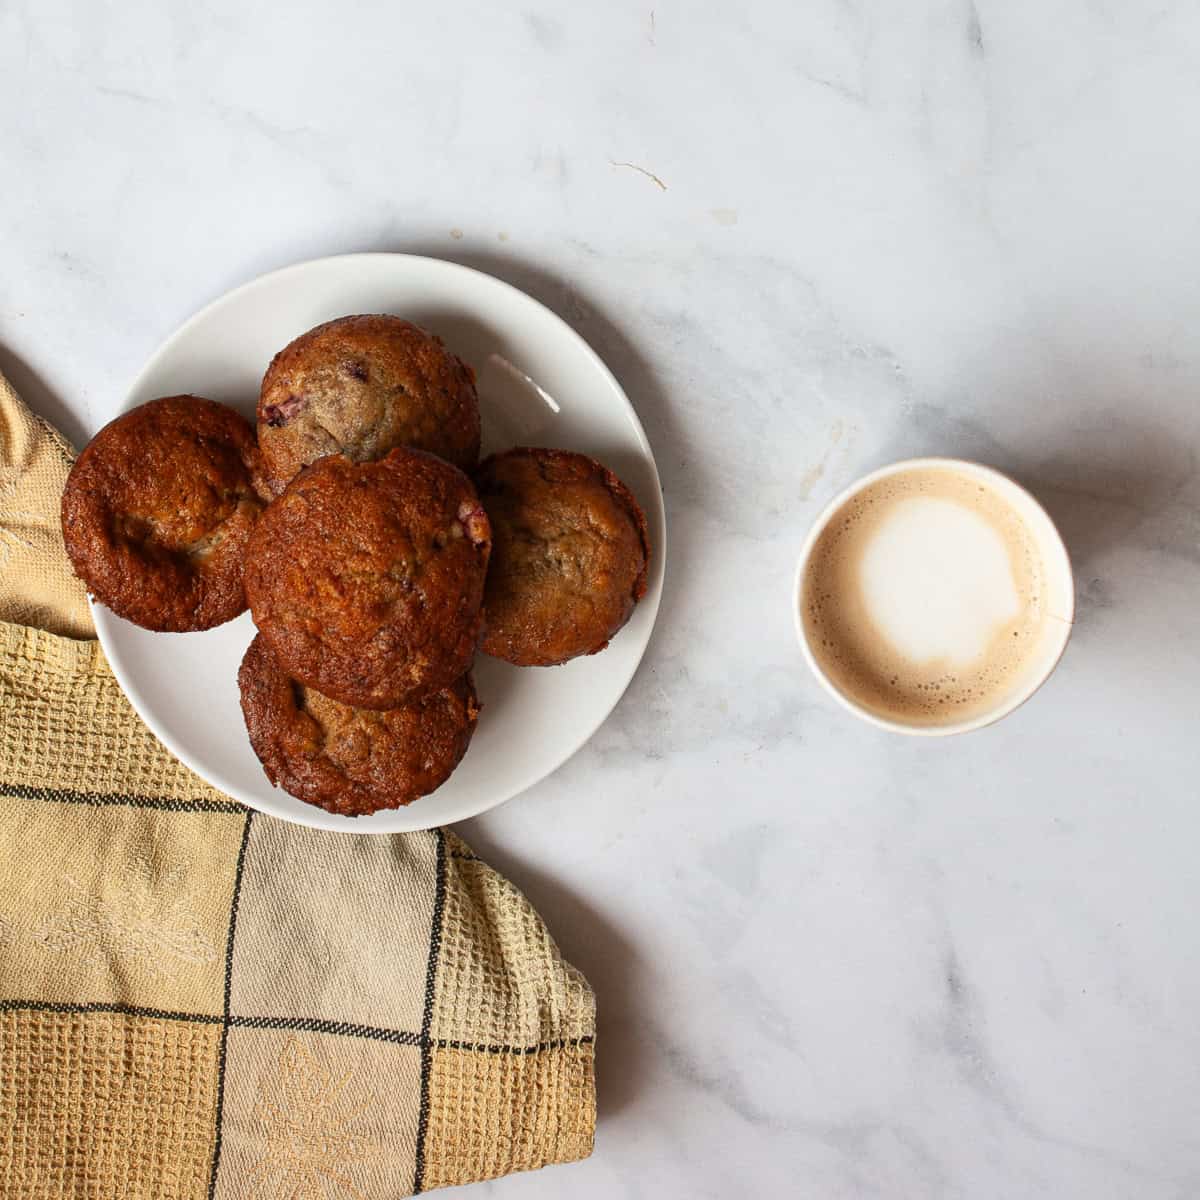
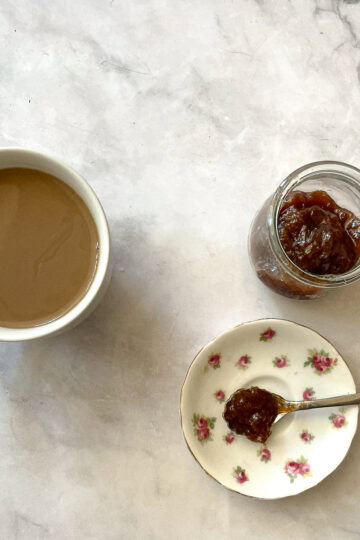
I LOVE making homemade jams and preserves from seasonal produce (rhubarb jam, rhubarb compote, and persimmon jam, anyone?). I also love experimenting with my tried-and-true recipes to come up with something a little different. This low sugar strawberry jam takes a classic strawberry jam recipe and reduces the amount of sugar just a bit, so that the bright, naturally sweet flavor of fresh strawberries truly shines through. The result is similar to my strawberry honey jam recipe, creating a jam that's lightly sweet, floral, and perfect for spreading on a piece of soft, homey leftover porridge bread or a warm batch of gluten free strawberry muffins.
Jump to:
Why I Love Making Homemade Strawberry Jam
This easy jam captures the essence of ripe summer strawberries without overwhelming their flavor with too much sugar. I love that it tastes like the fruit itself: juicy, slightly tart, deeply aromatic. It's quick to cook, needs only a handful of ingredients, and when I take the time to can it, I can enjoy it long after berry season ends. Homemade jam in the pantry always makes me feel so much.
Plus, it's versatile. When you need a quick dessert, just spoon jam over scoops of vanilla ice cream or swirl a generous helping into creamy Greek yogurt, then add a few sliced strawberries and mint leaves. I like to keep things simple, and usually skip using pectin (you can use it if you like, but omit the lemon juice), which means it comes together in a snap. Don't be intimidated by making jam; even if you're a novice preserver, I promise that you can do this! I love this jam and here's why:
- I can control the amount of sugar that goes into it. This is my top reason for making homemade jam. I find that many commercial jams are almost sickly sweet, and the sweetness overpowers the actual flavor of the fruit. When you make jam at home, you can adjust the sugar to suit your particular tastes. I love that.
- Just 3 ingredients needed. Yes, you read that right! I keep things very simple in this recipe (though, see a few variations lower down); three ingredients later ... jam!
- Beginner-friendly. Strawberry jam was one of the first jams I made, and while I admit I was fumbling in the dark a bit, I quickly got the hang of it. The recipe in this post is so easy that even a first-timer can do it! See my tips lower down to guide you through the process.

Ingredients Needed
Here's a look at the three ingredients needed to make this jam, plus my testing notes. Make sure to scroll down to my recipe card at the bottom of this post for the full ingredient amounts and instructions.
- Strawberries - I prefer to make my fruit preserves when summer fruit is in season (see my blackberry jam recipe for more), so I always use fresh, seasonal strawberries in this jam. You can use frozen strawberries in a pinch, though you may need to cook the jam a bit longer since they will release more water.
- Sugar - Use the amount of sugar here as a guideline. Taste as you go, and if you need to add a bit more sugar, a tablespoon at a time, until you like how it tastes. Substitute honey if you wish.
- Lemon - I don't use pectin, so lemon juice is essential here to help the jam set. I use the juice from 1 fresh lemon. If you need to use bottled juice, substitute 3 tablespoons of juice.

How to Make Homemade Strawberry Jam
Here's an overview in photos of how to make low sugar strawberry jam:

1. Place in pot: Stir together the ingredients in a pot.

2. Boil: Bring the mixture to a boil.

3. Simmer: Reduce heat and simmer until strawberries break down.

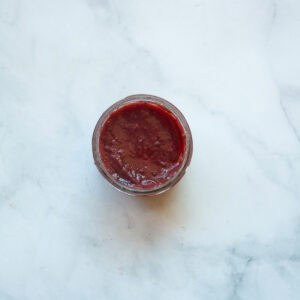
4. Finish: Mash or puree the berries, check for doneness, then transfer to jars.
Jam Making Tips
- To can or not to can. This decision is entirely up to you. If you predict you'll eat up your honey strawberry jam within a few weeks, skip the longer canning process and keep it in the fridge until it's gone. But, if you've made a lot of jam and wish to keep it for year-round spreading on toast, I recommend going the preserving route. It's not hard to can your jam, and you don't need any extra equipment. I've included a link to some reliable canning resources below.
- Add more sugar. I've included ½ cup of sugar in the ingredients list as a starting point. Note that ½ cup of sugar will result in a jam that's on the less-sweet side, especially if your strawberries are not super sweet. You can add 1 cup of sugar for a sweeter jam, or taste as you go and add a bit more honey depending on how the jam tastes to you.
- Use very ripe strawberries. This will help the jam to turn out beautifully sweet without a ton of added sugar. As noted, if the strawberries are not super ripe, you may need to add more sugar.
- Puree the jam. For a smoother jam, use a masher or the back of a big spoon to smash the strawberries as they cook. This will help them break down into a smoother jam. Or, use an immersion blender to quickly blend the strawberries into a puree after they are softened. Be careful, though! The jam will be very hot.
- Use the plate test. Place a plate in the freezer while the jam cooks. When it looks like it's done (coating the back of a spoon), drizzle a spoonful of jam on the cold plate. If the jam "wrinkles" and doesn't run, it's set and ready to take off the heat. If it's still pretty loose, keep cooking the jam and try again.

Variation Ideas
- Add vanilla - 1 teaspoon of pure vanilla extract or vanilla bean paste adds a little extra flavor note.
- A pinch of salt - A long time ago, I read a NYT recipe that mentioned how important a big pinch of salt is to add to the jam pot, and it stuck with me. While you might not see this on many jam recipes, add "a pinch" of fine sea salt to the mix to offset the sweetness.
- Orange juice - Swap orange juice for the lemon juice.
- Add raspberries - Make strawberry raspberry jam by substituting half of the strawberries for raspberries.
- Honey - Use half honey and half sugar, or all honey (or maple syrup) for a naturally sweetened option.

Ways to Enjoy Less Sweet Strawberry Jam
Strawberry jam is summer on a spoon, and it's so versatile.
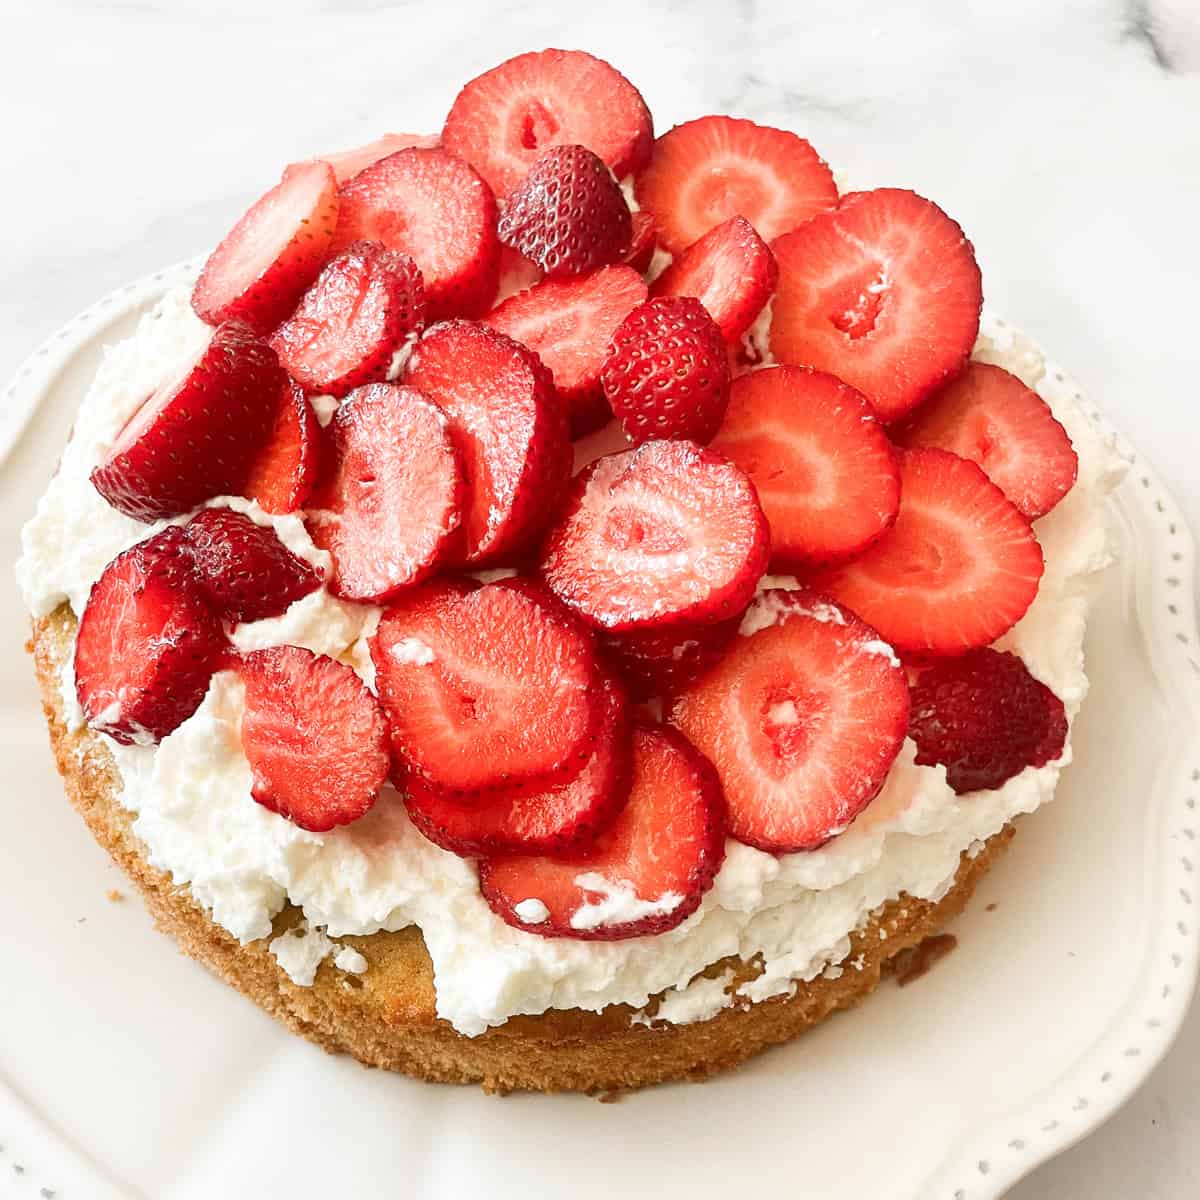
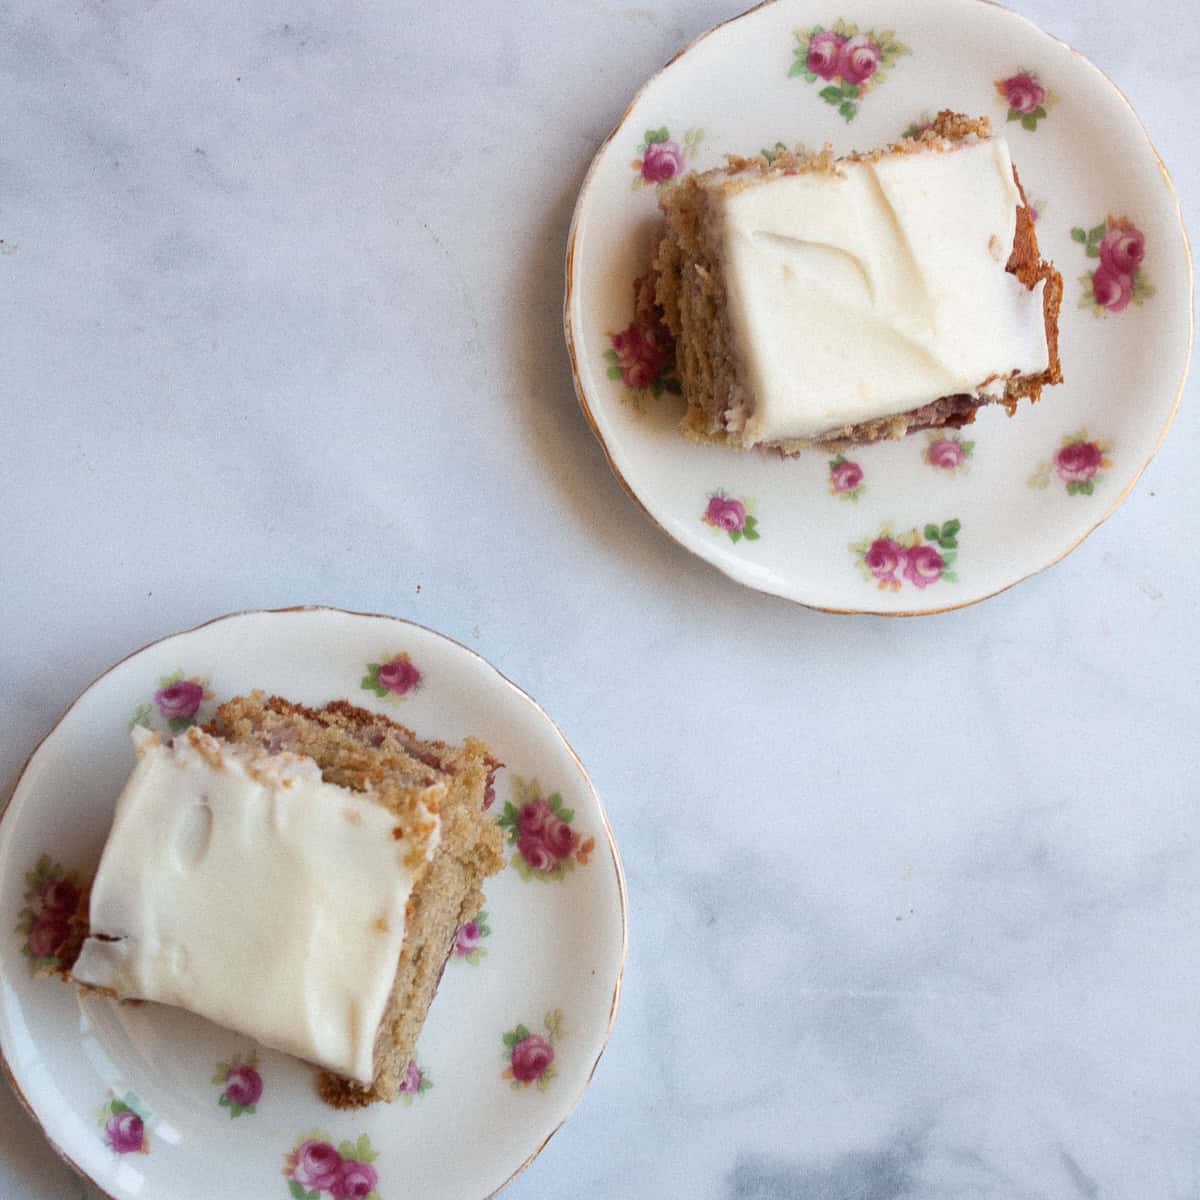
- With cake: Try jam in or on strawberry cream cake, oat flour vanilla cake, or a gluten free busy day cake.
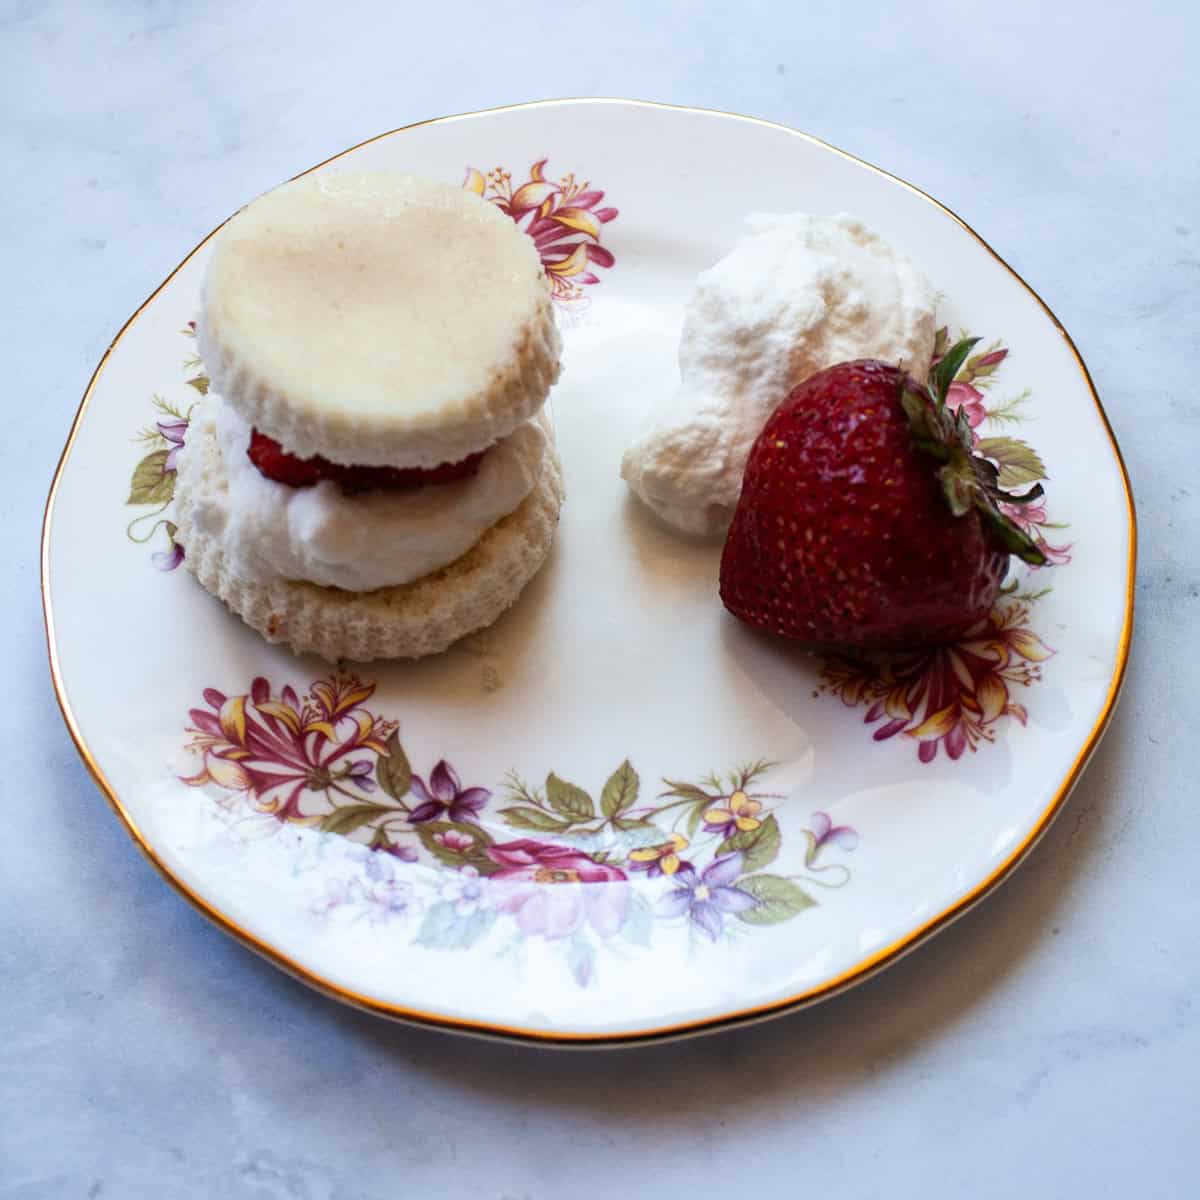
- Scones: I love jam and whipped cream with gluten free lemon cream scones or simple oat flour scones.
- On bread: Homemade bread is the best pairing with homemade jam! Try jam with my recipes for easy dutch oven bread, no knead whole wheat bread, or no knead cinnamon raisin bread.
Proper Storage
- Preserve it: If you wish to can your jam, please refer to the USDA's excellent canning guidelines.
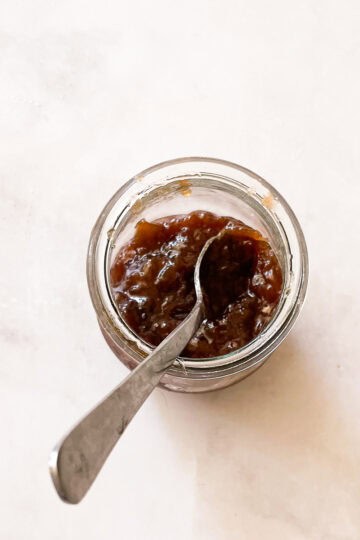
- Fridge - Otherwise, you can transfer the jam to a glass jar with a tight-fitting lid, cool to room temperature, then store it in the fridge for up to 3 weeks.
More Strawberry Recipes
Happy baking! If you make this recipe, I'd love to know. Please leave a comment below, reach out with any questions, and tag me on Instagram @Cucina Nicolina ❤️
Recipe
Low Sugar Strawberry Jam
Ingredients
- 2 pounds strawberries , hulled and roughly chopped
- ½-1 cup sugar
- ½ lemon juiced
Instructions
- In a large, heavy bottom saucepan or dutch oven, stir the 2 pounds strawberries with the ½-1 cup sugar and ½ lemon. Turn the heat to medium, and cook, stirring, until the sugar dissolves.
- Bring the mixture to a boil. Reduce heat and simmer for about 20 minutes; you want the jam to reduce and thicken before removing from the heat.
- When jam is thickened, spoon/pour into prepared sterilized glass jars and either can or keep in the fridge for 2-3 weeks. Jam will further thicken as it cools.
Notes
- To can or not to can. This decision is entirely up to you. If you predict you'll eat up your honey strawberry jam within a few weeks, skip the longer canning process and keep it in the fridge until it's gone. But, if you've made a lot of jam and wish to keep it for year-round spreading on toast, I recommend going the preserving route. It's not hard to can your jam, and you don't need any extra equipment. I've included a link to some reliable canning resources below.
- Add more sugar. I've included ½ cup of sugar in the ingredients list as a starting point. Note that ½ cup of sugar will result in a jam that's on the less-sweet side, especially if your strawberries are not super sweet. You can add 1 cup of sugar for a sweeter jam, or taste as you go and add a bit more honey depending on how the jam tastes to you.
- Use very ripe strawberries. This will help the jam to turn out beautifully sweet without a ton of added sugar. As noted, if the strawberries are not super ripe, you may need to add more sugar.
- Puree the jam. For a smoother jam, use a masher or the back of a big spoon to smash the strawberries as they cook. This will help them break down into a smoother jam. Or, use an immersion blender to quickly blend the strawberries into a puree after they are softened. Be careful, though! The jam will be very hot.
- Use the plate test. Place a plate in the freezer while the jam cooks. When it looks like it's done (coating the back of a spoon), drizzle a spoonful of jam on the cold plate. If the jam "wrinkles" and doesn't run, it's set and ready to take off the heat. If it's still pretty loose, keep cooking the jam and try again.
Anne Zimmerman says
You had me till "I don't eat jam every day."
I don't either, but I could. Easily!
Robin (Hippo Flambe) says
If you leave the berries and strawberries to sit for even as little as 20 minutes before heating they will become release some of their juice and you should not need any water. I am jealous looking at your jam because we used up the last of last summers strawberry jam a month ago and they should not be in season for another 2 months. Although with the crazy weather we have been having, who knows...
Meaghin says
This is great! I made (and canned) a large batch of strawberry jam last season that everyone I gave it to seemed to love--but it was way too sweet for me. I'll try this w/the berries I get at the market this weekend.